Converting HTML Site to WordPress Theme
For this tutorial, I have picked up a free HTML business theme from here. The technique will remain the same while converting any business theme.
If you have questions regarding your business theme, just drop a comment or an email, and I will be happy to respond.
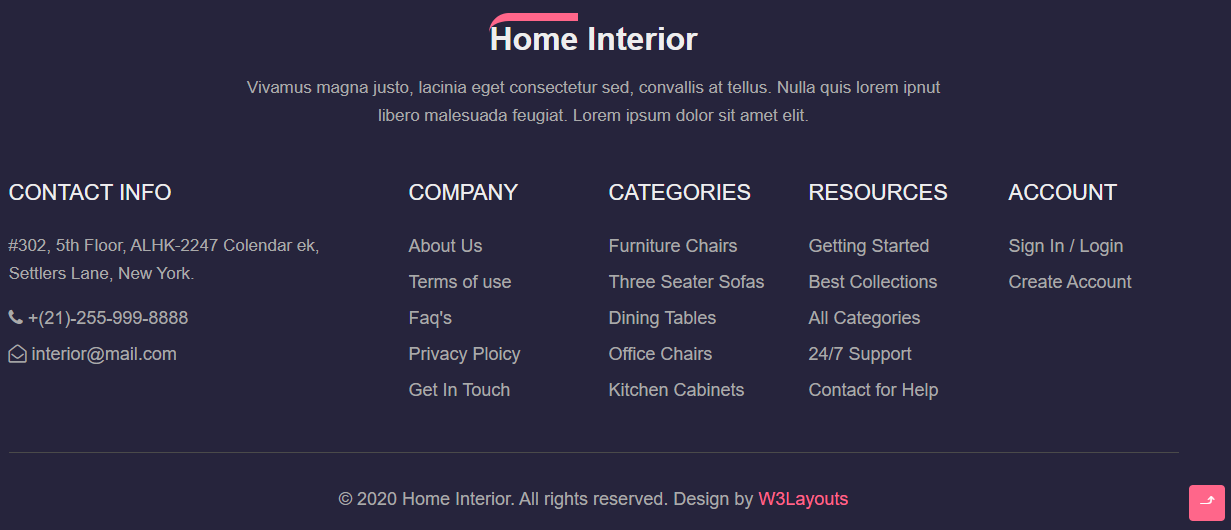
Let’s move on. First, take a look at your HTML theme and markdown the header, main body, and footer elements.
Header: The header will include the top section part.

Main Body: It’s a long page, so I zoomed out to take a screenshot, but the whole center part is included in the main body.

Footer: The footer section will include the bottom part.
Step 1: Prerequisites
I hope you already have WordPress installed on your localhost like XAMPP (i.e., your computer). If not, we have already covered a detailed guide to help you install and set up WordPress locally.
Step 2: Create Your Theme Folder
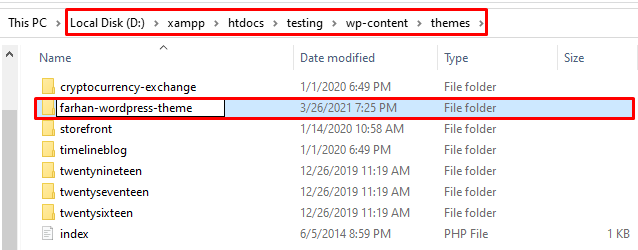
For this tutorial, I’m using XAMPP, and my WordPress site is installed under the htdocs folder. To create a WordPress theme, you need to access your themes folder and create a new folder.
Now, open XAMPP folder > htdocs > WordPress folder (in my case it’s testing) > wp-content > themes.
In the Themes folder, you will see all your installed WordPress themes. Create a new folder and name your theme.
Step 3: Create PHP Files
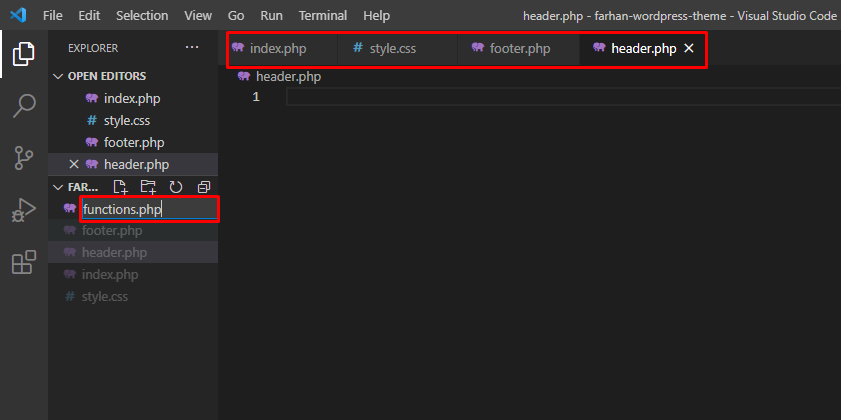
The newly created theme folder is empty, and you need to create some files to make it functional. For this, you need to launch your code editor (VS Code) and open the entire WordPress theme folder (in my case, farhan-wordpress-theme).
Now create the following essential WordPress files to organize your theme better.
- style.css (contains theme details and CSS files)
- index.php (serves the main content if other optional files are not declared)
- header.php (contains the header elements of the theme)
- footer.php (contains the footer elements of the theme)
- functions.php (contains functions that on in the WordPress theme)
Step 4: Copy CSS, Images, and JavaScript (JS) Folders
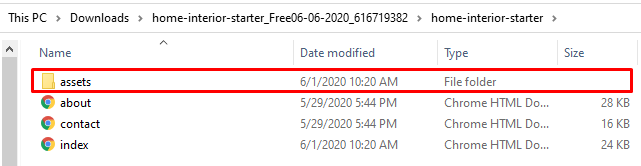
From your HTML theme (downloaded above), copy the assets folder (CSS, JS, and images folders) to your new WordPress theme folder.
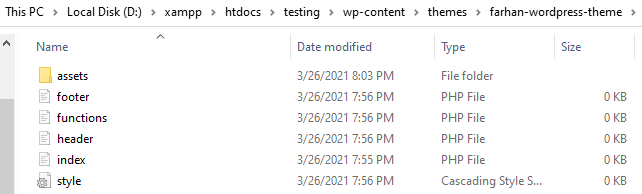
After moving to your new WordPress theme folder, it will look like this:
Step 5: Activate a New WordPress Theme
Now, you have added the important folders that are required for any wp theme. Next, open your WordPress site on your browser and log in to your Dashboard. Navigate to Appearance > Themes, and you will see your new theme has been added to this section.